
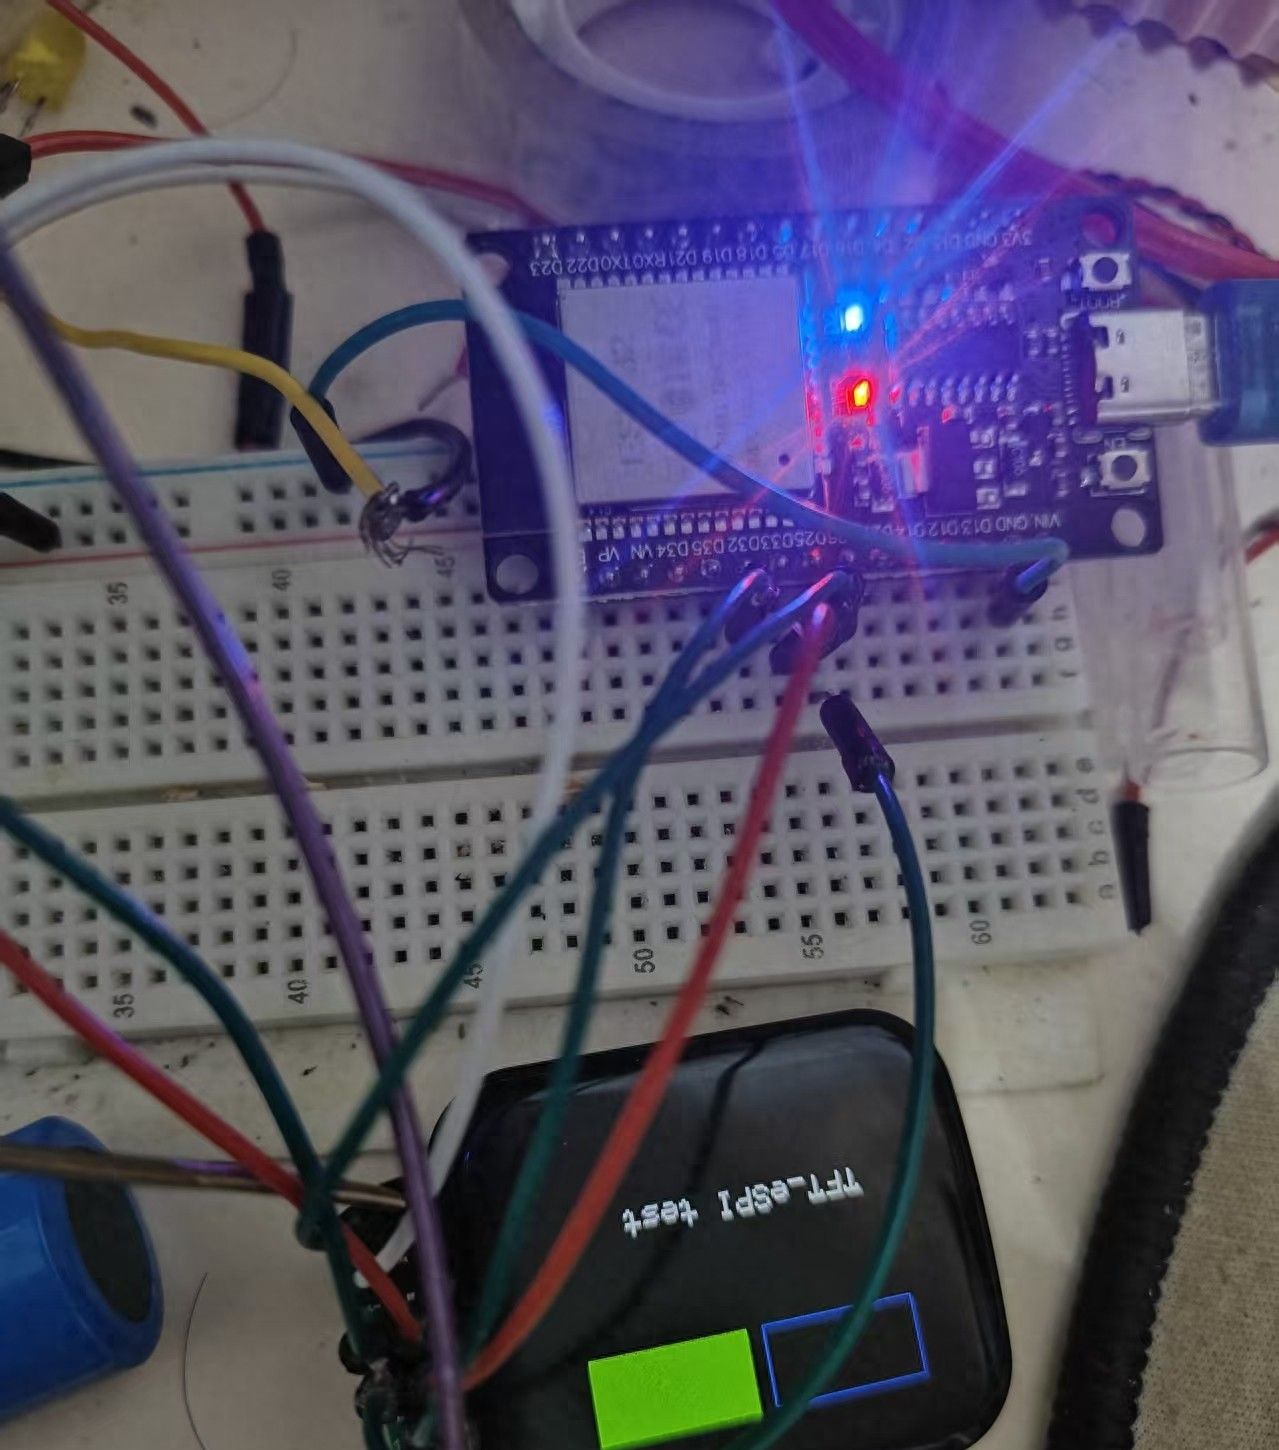
一、引脚配置
TFT_CS   -> GPIO5
TFT_DC   -> GPIO2
TFT_RST  -> GPIO32
TFT_MOSI -> GPIO25
TFT_SCLK -> GPIO33
TFT_BL   -> GPIO26
VCC      -> 3.3V
GND      -> GND
二、TFT_eSPI库文件,User_Setup.h里面配置文件
#define USER_SETUP_INFO "User_Setup"
#define ST7789_DRIVER
#define TFT_WIDTH  240
#define TFT_HEIGHT 280

// 使用修正后的引脚
#define TFT_CS   5    // 重大:改为5
#define TFT_DC   2    // 重大:改为2
#define TFT_RST  32

#define TFT_MOSI 25   // SDA
#define TFT_SCLK 33   // SCL

#define TFT_BL   26
#define TFT_BACKLIGHT_ON LOW

#define SPI_FREQUENCY  27000000

#define LOAD_GLCD
#define LOAD_FONT2
#define LOAD_FONT4
三、主函数
#include <TFT_eSPI.h>
#include <SPI.h>
#include <Arduino.h>

TFT_eSPI tft = TFT_eSPI();

void setup() {
  Serial.begin(115200);

  // 初始化TFT
  tft.init();
  tft.setRotation(3);  // 尝试不同的旋转值:0,1,2,3
  tft.fillScreen(TFT_BLACK);

  // 开启背光
  pinMode(26, OUTPUT);
  digitalWrite(26, LOW);  // 根据你的屏幕可能是HIGH

  Serial.println("TFT测试开始");

  // 测试基本绘图功能
  tft.setTextColor(TFT_WHITE, TFT_BLACK);
  tft.setTextSize(2);
  tft.setCursor(30, 150);
  tft.println("TFT_eSPI test");

  tft.drawRect(10, 30, 100, 50, TFT_RED);
  tft.fillRect(120, 30, 100, 50, TFT_GREEN);
  // tft.drawCircle(60, 120, 30, TFT_BLUE);
  // tft.fillCircle(180, 120, 30, TFT_YELLOW);

  Serial.println("TFT测试完成");
}

void loop() {
  delay(1000);
}
四、效果
© 版权声明
文章版权归作者所有,未经允许请勿转载。如内容涉嫌侵权,请在本页底部进入<联系我们>进行举报投诉!
THE END


暂无评论内容